

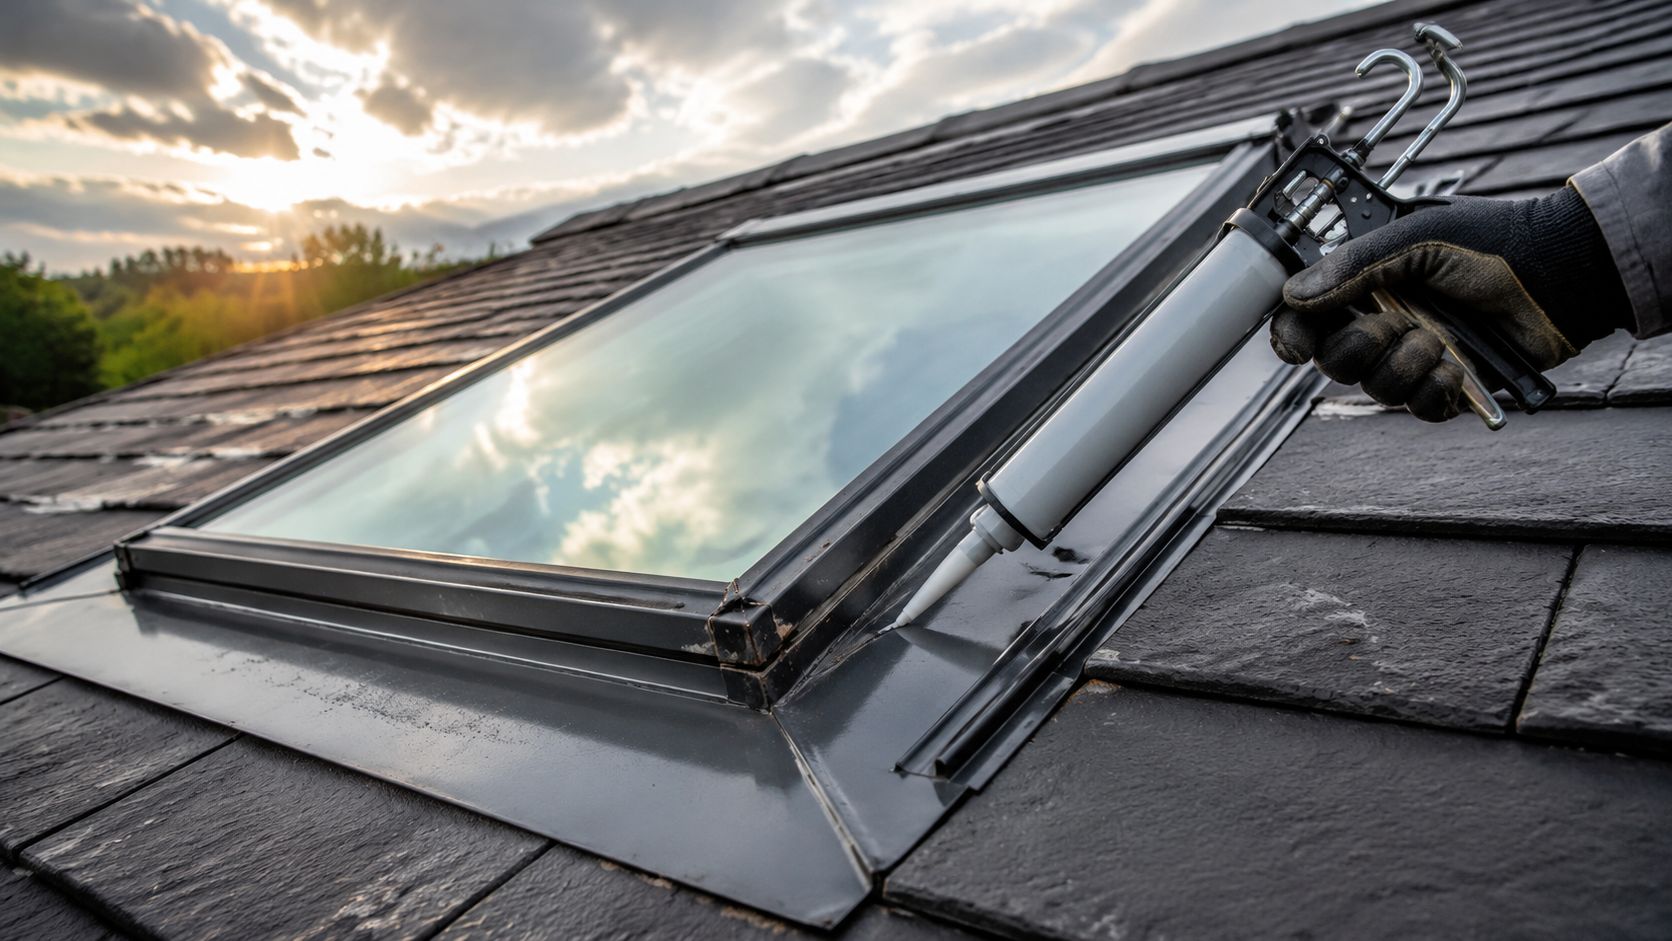
You hear it after the storm has passed. Not wind, not branches, not rain on the gutter. A slow drip near the skylight, then a damp patch where the plaster looked fine yesterday.
That's the moment most homeowners jump to the same conclusion: the skylight frame must be cracked. Sometimes that's true. Often, it isn't. Water can travel, flashing can fail before the frame does, and a roof leak can show up right beside the skylight even when the unit itself is still sound.
In Brisbane storm season especially, the right first move isn't panic and it isn't a tube of silicone. It's a calm inspection. You want to work out whether you're dealing with a damaged skylight frame, a failed seal, a flashing issue, or a roof problem that's using the skylight opening as the easiest path inside.
If the storm also caused broader interior damage, it helps to document everything early, especially if you may need help to maximize property damage claims. Good photos taken before any patching can save a lot of confusion later.
When the leak is centred around the unit itself, a proper skylight leak repair assessment usually starts with the same question this guide answers: where is the water getting in?
Table of Contents
That Drip, Drip, Drip After the Storm
The first sign is rarely dramatic. It's usually a stain that's a shade darker than the ceiling around it, a damp cornice near the shaft, or a bead of water hanging from one corner of the inner frame.
Homeowners often tell me the same thing after a heavy downpour. The skylight was fine for months, then one wild night of driven rain changed everything. That pattern matters. Storm leaks often expose weak points that were already there: tired sealant, movement in the roof, loose flashing, corrosion at the frame edge, or an older installation that has never quite shed water properly.
A skylight leak after a storm doesn't automatically mean the frame has failed. It means the weather finally found the weakest part of the assembly.
That's why careful diagnosis comes before repair. If you patch the visible gap but ignore the roof interface, the leak usually comes back. If you blame the roof and miss soft timber in the frame, the damage keeps spreading out of sight.
There's also a practical cost angle. Skylight-frame fixes in comparable guidance often sit below full replacement, but repeated patch jobs on an ageing unit can become false economy. The aim after a storm is simple: find the entry point, check whether the frame is still structurally sound, and decide whether a targeted repair will hold.
A good inspection doesn't require guesswork. It requires dry conditions, patience, a torch, photos, and a willingness to look at the whole system rather than only the wet spot.
Your Post-Storm Skylight Inspection Checklist
Start safely. If the roof is still wet, don't get on it. A post-storm inspection done from inside and from ground level with binoculars is far better than a rushed climb that ends badly.

One industry source notes that about 35% of skylight leaks are linked to improper installation, and frames older than 20–25 years are often flagged for replacement instead of repeated patching, which is why a thorough inspection needs to include the roof junction as well as the frame itself (guidance on skylight leak causes and ageing units).
For broader maintenance planning, it also helps to read practical advice on roof leak prevention around skylight openings, because storm leaks rarely stay isolated to one small detail.
Start inside before you go near the roof
Most of the useful clues show up indoors first.
Check the plasterboard and shaft lining. Look for bubbling paint, stained corners, swollen trim, or sagging plaster. A stain directly at the lower edge of the skylight opening often points you closer to the leak path than a stain further away.
Inspect the inner frame closely. Run your eyes, not your fingers, along joints and corners first. You're looking for separated sealant, rust marks, softened timber, mould, or a clean drip line.
Look at the glass condition. Moisture on the room side can be simple condensation. Water appearing from the frame-to-lining joint during or after rain is a different problem.
Take photos before touching anything. If you wipe it dry too early, you lose evidence of the leak pattern.
Practical rule: Start low-risk and observational. Don't open up trims or climb onto roofing until you've mapped where the water is showing itself.
What to look at outside
Once conditions are dry and access is safe, inspect the exterior carefully.
A useful order is to look at the area around the skylight first, then the unit itself. Many people do the reverse and miss the actual problem.
Clear debris first. Leaves and silt can hold water against the frame and flashing.
Check the frame perimeter. Look for corrosion, split coatings, movement at corners, missing fasteners, and gaps where old sealant has shrunk back.
Inspect flashing lines. Lifted edges, bent sections, and poorly integrated flashings are common storm trouble spots.
Scan the nearby roof covering. Broken tiles, displaced sheets, or damage upslope from the skylight can direct water to the opening even when the frame is intact.
Check operable units carefully. If the skylight opens, examine weather seals, closing pressure, and whether the sash is sitting squarely.
A simple notebook sketch helps. Mark where you saw interior staining, where debris collected outside, and which side faces prevailing weather. That pattern often tells you more than a single wet patch ever will.
Pinpointing the Leak Source Frame Flashing or Roof
This is the part that saves you from an expensive wrong repair. The leak location inside the room doesn't always match the entry point outside. Water follows slope, underlay, battens, framing, and gravity. By the time you see it, it may have travelled.
Independent repair guidance warns against assuming the frame is at fault and notes that leaks are commonly traced to flashing, sealant, weatherstripping, or installation details. It also cautions against quick tar-based patching that can trap moisture and fail long term (repair-or-replace guidance for skylight leak diagnosis).
If you're comparing symptoms with other roof penetrations, this article on diagnosing and repairing roof vents is useful because vent leaks and skylight leaks often follow the same water-tracking logic.
What frame failure usually looks like
A damaged skylight frame tends to leave local clues.
| Sign | What it often suggests |
|---|---|
| Water at one frame corner | Joint movement, failed seal, local corrosion |
| Soft or discoloured timber | Moisture has been entering for a while |
| Rust streaks below frame edge | Corrosion at fasteners or metal joins |
| Drips appearing right at glass edge or sash | Seal or closing-pressure issue on the unit |
Frame-related problems are usually concentrated. The evidence sits close to the skylight body, not wandering across the ceiling far from the opening.
What flashing or roof failure usually looks like
Flashing and roof leaks behave differently. They often show as staining outside the immediate frame line, especially downslope or at the shaft corners where water exits after travelling.
Look for these patterns:
Stains beyond the skylight opening. That often points to water entering above or beside the unit.
Leak only during wind-driven rain. That can indicate flashing laps or roof-sheet/tile issues rather than a constant frame defect.
Moisture appearing after a delay. Water may be pooling or tracking through the roof assembly first.
Repeated leakage after sealant touch-ups. That usually means the perimeter waterproofing detail hasn't been corrected.
Where flashing detail is a concern, proper back tray flashing around skylights is one of the critical details that prevents water from being directed into the opening.
A safe water test that tells you more
Only do this when the roof is dry, the area is safe, and one person stays inside to watch.
Start with a garden hose on a gentle flow. Never use a pressure washer. Wet one area at a time for several minutes, beginning below the skylight, then the sides, then above it. Leave the frame itself until later.
Test in sequence, not all at once. If you soak everything together, you learn nothing.
If water appears when only the upslope roof area is being wetted, the frame may be innocent. If the leak shows when the frame perimeter or sash joint is targeted, skylight frame repair becomes more likely. If the leak appears on side testing, flashing laps deserve close attention.
A Guide to Common Skylight Frame Repairs
Once you've confirmed the frame is the problem, the repair needs to be deliberate. Smearing fresh sealant over old, dirty, failing material is one of the least reliable fixes you can do.

Expert guidance is clear on this point: a proper repair means checking seal integrity, removing deteriorated caulk, cleaning the substrate thoroughly, and applying high-quality sealant only to prepared gaps (expert tips on lasting skylight sealing work).
Minor aluminium frame issues
Aluminium frames usually fail through corrosion at edges, fasteners, corners, or by movement that breaks the seal line.
For minor issues:
Remove all loose or failed sealant.
Clean the frame back to a sound surface.
Treat light corrosion before resealing.
Apply a compatible exterior sealant only where the joint is meant to seal.
Water-test after curing.
If the powder coat has broken down, surface protection matters. Good metalwork protection strategies can help you understand why corrosion control comes before cosmetic touch-ups.
A modern replacement frame can also reduce repeat maintenance. One available option in the market is the skylight frame installation service from Vivid Skylights, which relates to double-glazed fixed and operable units with black powder-coated aluminium frames.
Minor timber frame issues
Timber frames need a different approach. If the wood is only lightly weathered, you may be able to remove decayed fibres, let the area dry properly, repair locally, then reseal and repaint.
The warning sign is softness that goes deeper than the surface. If a screwdriver sinks in easily, or the joint has lost shape, that isn't a cosmetic repair anymore. It's a structural one.
Before you pick up tools, this walk-through shows the sort of careful prep and sealant handling that matters on any frame repair:
When DIY stops being sensible
Some repairs are reasonable for a capable homeowner. Others aren't.
What works: cleaning out failed sealant, replacing a small prepared seal line, and documenting minor corrosion before it spreads.
Call for backup if you find movement in the frame, hidden substrate damage, recurring leaks, cracked glazing, or signs that the surrounding flashing needs to be rebuilt. Proper repair sequencing matters. Thorough guidance for skylight remediation calls for inspection, removal of the unit, checking the underlying framing or sheathing, replacing damaged timber if needed, then rebuilding membrane and flashing in the correct order so water sheds properly rather than being trapped behind the frame (full flashing and substrate repair sequence).
Knowing When to Repair vs Replace a Damaged Skylight
Some skylights are worth repairing. Some are already telling you they're finished. The trick is to make that call before you spend money twice.

Industry guides often use the 50% rule. If repair costs more than half the price of a new unit, replacement is usually the more economical path. The same guidance places minor frame repairs around $200–$600 and full replacement starting around $1,200 (repair cost ranges and the 50% rule).
If you're trying to compare local options, a skylight repair service near you can usually tell you quickly whether you're looking at targeted frame work or a full swap.
When repair still makes sense
Repair is usually the better call when the problem is local and the rest of the skylight is still healthy.
Isolated seal failure: the frame is sound, the leak is recent, and there's no evidence of underlying rot or corrosion spreading.
Minor surface corrosion: the metal is still solid and the joints haven't opened up.
Small, non-structural timber deterioration: the damage is shallow and dry-out is achievable.
When replacement is the cleaner answer
Replacement becomes more attractive when age, condition, and repeated water entry all point in the same direction.
A good example is the older unit that has already had several patch repairs, shows frame movement, and now leaks again after a major storm. You can keep chasing the next weak point, or you can reset the whole assembly.
For homeowners who do replace, newer double-glazed fixed and operable skylights are available in electric and solar-powered formats, and some suppliers can deliver nationwide across Australia. In practical terms, replacement isn't only about stopping a leak. It can also mean better glazing, more reliable operation, and less maintenance pressure on the frame and seals.
Beyond Repair The Future of Natural and Inspired Lighting
Post-storm skylight checks come down to a few steady decisions. Stay off a wet roof. Inspect from inside first. Separate frame symptoms from flashing and roof symptoms. Repair only what you can clearly diagnose.
The bigger lesson is that skylights should be treated as part of the roof system, not a hole with glass in it. When the frame is sound, targeted repair can hold. When the frame has movement, soft timber, corrosion, or repeat leak history, replacement is usually the calmer long-term answer.
That wider view also matters when a traditional skylight isn't possible. Some homes have awkward roof structure, lower-floor rooms, or locations where a roof opening just doesn't make sense. In those spaces, inspired lighting solutions can still create the feel of daylight without a conventional installation. AuraGlow LED skylights are one example of that approach, designed to mimic the look of skylight-style illumination and shift colour through the day for a sky-like effect.
The result is a better question than “How do I patch this?” It's “What lighting solution suits this room, this roof, and this home for the long haul?”
If you need help working out whether you're dealing with a frame issue, a flashing fault, or a full replacement job, Vivid Skylights offers skylight expertise, double-glazed fixed and operable units, electric and solar-powered opening options, and Australia-wide delivery.