
Why Your Home Deserves a DIY Skylight Transformation
Many Melbourne homeowners are embracing DIY skylight installation. This trend is fueled by cost savings and the satisfaction of home improvement. Professionally installed skylights can cost $1,000 or more. A DIY approach significantly lowers this expense, freeing up your budget for other projects. Plus, bringing in natural light through a DIY skylight adds a touch of personal pride to any renovation.
Benefits of Natural Light
Natural light dramatically changes a room’s atmosphere. Spaces feel larger, more welcoming, and connected to the outdoors. Studies show natural light can also boost your mood and overall well-being. A DIY skylight installation becomes an investment in both your home’s beauty and your family’s health. It’s a noticeable difference.
DIY vs. Professional Installation: Making the Right Choice
DIY offers attractive cost savings, but assess your skills, roof complexity, and project scope. In Melbourne, DIY skylight installation is popular due to cost and perceived simplicity. Online guides make it seem manageable. However, 60-70% of Australians still opt for professional installation due to waterproofing concerns and the risk of long-term problems from incorrect installation. Professional installation costs range from $1,200 to $5,000 for standard skylights and $900 to $2,000 for tubular skylights. Learn more here.
Assessing Your DIY Capabilities
Before starting a DIY skylight installation, ask yourself these questions:
- Are you comfortable with heights?
- Do you have basic carpentry skills?
- Is your roof easily accessible and simply designed?
- Are you ready to research and learn proper installation techniques?
If you hesitate on any of these, professional help is the best choice. A well-installed skylight, DIY or professional, enhances your home’s beauty and function for years. Weigh your options and choose what suits your home and budget.
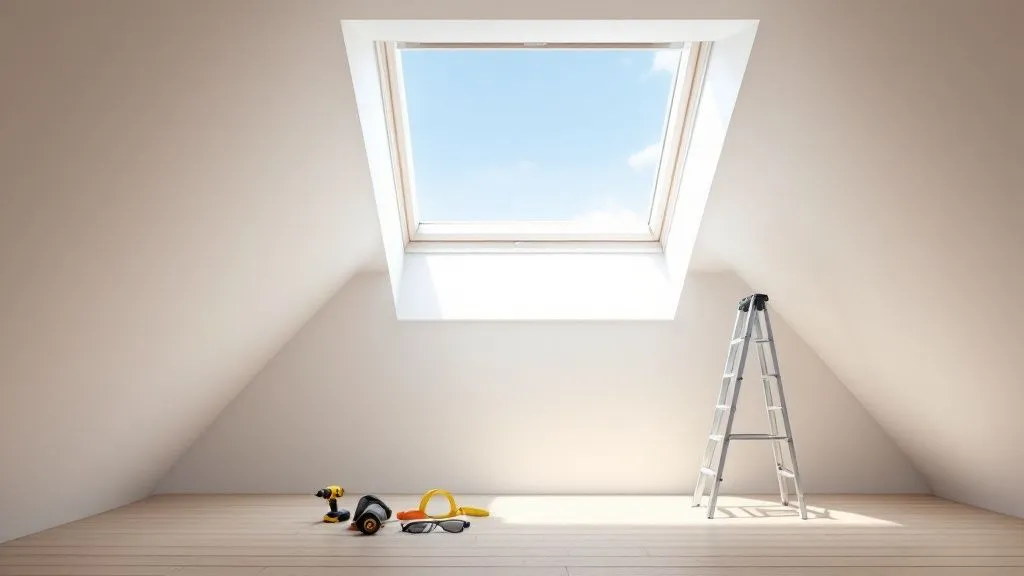
Gathering Your Skylight Arsenal: Tools and Materials

Before embarking on your DIY skylight installation journey, having the right tools and materials is paramount. Proper preparation can transform a potentially frustrating project into a smooth, rewarding experience. Just like a chef wouldn’t begin baking without all the necessary ingredients, you shouldn’t start this project without the right equipment. This guide covers everything you’ll need, from essential safety gear to specialized roofing tools.
Essential Tools
Having the correct tools readily available will save you valuable time and prevent unnecessary headaches. Here’s a detailed overview of the essentials:
- Safety Gear: Safety should always be your top priority. This includes safety glasses, work gloves, a dust mask, and sturdy work boots. For added security, especially when working on steeper roofs, a roofing harness is highly recommended.
- Measuring and Marking Tools: Precise measurements are crucial for a successful installation. Essential tools include a tape measure, a straight edge, a pencil, and a spirit level. A speed square can also be invaluable for accurate angle measurements.
- Cutting Tools: The specific cutting tools you’ll need will depend on your roof type. For Colorbond roofs, metal cutting shears or a nibbler are essential. If you have a tile roof, a tile saw or an angle grinder with a diamond blade is necessary. A reciprocating saw can be a versatile tool for various other cuts.
- Fastening Tools: A drill with the appropriate drill bits for your specific roof type is a must-have. You’ll also need a screwdriver and a hammer to secure the skylight and flashing.
- Sealing and Waterproofing Tools: A caulking gun and a putty knife are indispensable for applying sealant and ensuring a watertight seal, preventing leaks.
Choosing the Right Skylight
Selecting the right skylight for your Australian home is a significant decision. Here’s a breakdown of the key factors to consider:
- Roof Type: Your roof type (Colorbond, terracotta, or concrete) will dictate the appropriate skylight and flashing kit you’ll need. Vivid Skylights offers flashing kits specifically designed for tiled roofs.
- Skylight Type: Fixed skylights are a popular choice due to their simplicity. Ventilated skylights offer the benefit of increased airflow, making them suitable for warmer climates. Tubular skylights are an excellent option for smaller spaces or areas with limited roof access.
- Climate Considerations: Australia’s diverse climate necessitates choosing a skylight that suits your specific region. Double-glazed units, like those offered by Vivid Skylights, offer excellent insulation against both heat and cold.
- Size and Placement: Carefully measure your space to determine the correct skylight size. Consider the placement for optimal light intake based on your home’s orientation.
Before diving into the installation process, let’s review the necessary materials. The following table provides a comprehensive checklist of essential tools and materials, along with estimated costs in Australia.
Essential Tools & Materials Checklist for DIY Skylight Installation
A comprehensive list of required tools and materials with estimated costs in Australia
| Item | Purpose | Estimated Cost (AUD) | Must-Have/Optional |
|---|---|---|---|
| Safety Glasses | Eye protection | $10 – $30 | Must-Have |
| Work Gloves | Hand protection | $15 – $40 | Must-Have |
| Dust Mask | Respiratory protection | $5 – $20 | Must-Have |
| Work Boots | Foot protection | $80 – $200 | Must-Have |
| Roofing Harness | Fall protection | $150 – $300 | Optional but highly recommended |
| Tape Measure | Accurate measurements | $15 – $50 | Must-Have |
| Straight Edge | Marking straight lines | $10 – $30 | Must-Have |
| Pencil | Marking | $1 – $5 | Must-Have |
| Spirit Level | Ensuring level installation | $20 – $50 | Must-Have |
| Speed Square | Angle measurements | $10 – $20 | Must-Have |
| Metal Cutting Shears/Nibbler | Cutting metal roofing | $20 – $60 | Must-Have (for metal roofs) |
| Tile Saw/Angle Grinder | Cutting tiles | $100 – $300 | Must-Have (for tile roofs) |
| Reciprocating Saw | Various cuts | $100 – $250 | Optional |
| Drill & Drill Bits | Creating pilot holes and securing screws | $50 – $200 | Must-Have |
| Screwdriver | Securing screws | $10 – $30 | Must-Have |
| Hammer | Driving nails | $15 – $30 | Must-Have |
| Caulking Gun | Applying sealant | $20 – $40 | Must-Have |
| Putty Knife | Spreading sealant | $5 – $15 | Must-Have |
| Skylight & Flashing Kit | The main components | $300 – $1000+ | Must-Have |
| Sealant | Weatherproofing | $15 – $30 per tube | Must-Have |
| Fasteners (Screws/Nails) | Securing the skylight | $10 – $20 per box | Must-Have |
| Insulation | Preventing heat loss/gain | $20 – $50 per roll | Must-Have |
This table provides a helpful overview of the essential tools and materials required for a DIY skylight installation. Remember to adjust the estimated costs based on specific brand choices and local pricing.
By assembling these tools and carefully selecting the right skylight and materials, you’ll be well-equipped for a successful DIY installation. Next, we’ll explore the step-by-step installation process.
From Measuring to Mounting: The Installation Process
This section provides a step-by-step guide to DIY skylight installation, specifically tailored for Australian homes. We’ll cover every stage, from initial planning and precise measurements to the final mounting and sealing.
Planning and Positioning
Before starting any work, careful planning is crucial. Think about the sun’s path in the southern hemisphere when choosing the optimal position for your skylight. You’ll want to maximize natural light while minimizing summer heat. Also, inspect your roof for obstructions like pipes, vents, or rafters that could complicate the installation. These early checks will save you trouble later.
Measuring with Precision
Accurate measurements are essential for a successful skylight installation. The saying “measure twice, cut once” is key here! Your measurements should consider your roof pitch and material. Metal roofs and tile roofs require different approaches. With tile roofs, for example, consider the tile overlap. The opening must accommodate a full tile on each side. Check out our guide on how to install a skylight for more information. Before beginning, familiarize yourself with handling building components. This article on installing building hardware can be a helpful resource.
Creating the Roof Opening
Creating the roof opening is a vital step, and maintaining structural integrity is paramount. Mark the opening precisely based on your measurements. Use the right cutting tools for your roof type. Metal cutting shears are recommended for Colorbond roofs, while a tile saw is necessary for tile roofs. Work slowly and methodically for a clean and precise opening.
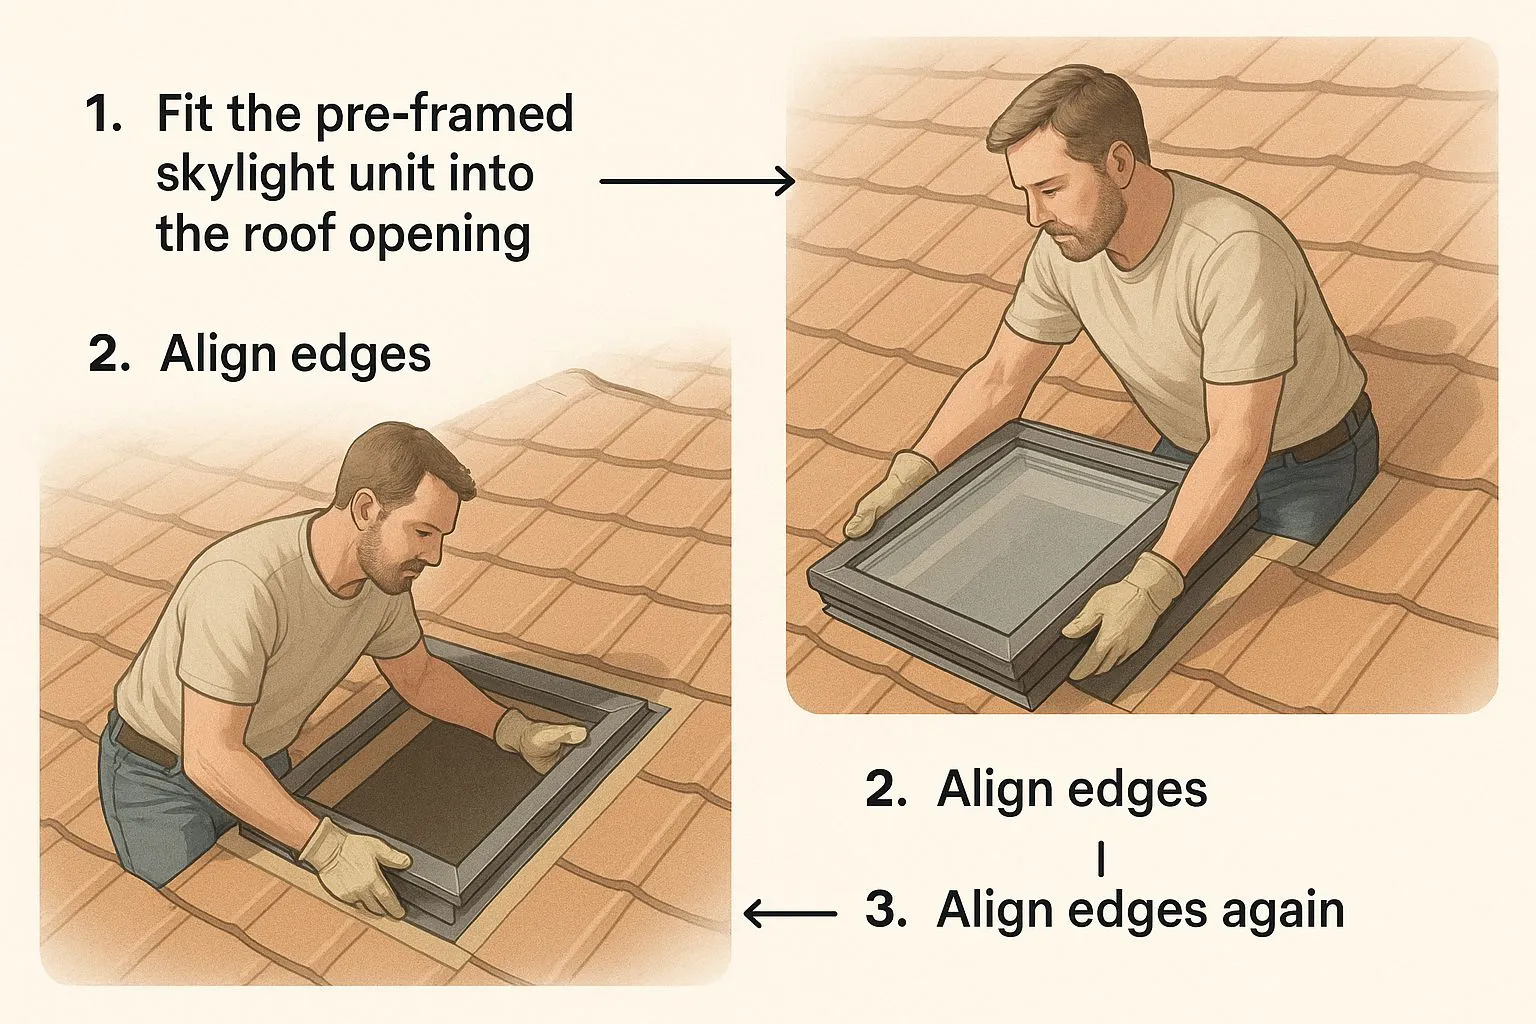
This infographic shows a homeowner carefully fitting a pre-framed skylight unit into a prepared roof opening. Note the precise alignment of the edges and the use of protective gloves. The image highlights the precision and care needed for proper fitting to prevent leaks.
Installing the Skylight and Flashing
With the opening created, you can install the skylight. Fit the pre-framed unit securely, ensuring a snug fit. Secure it to the roof structure using appropriate fasteners. Then, install the flashing—a vital component for waterproofing. DIY skylight installation time varies. Experienced DIYers might finish in one to eight hours, but avoid leaving the roof open overnight. Roughly 30-40% of Melbourne homeowners who attempt DIY skylight installation either stop mid-project or hire professionals. This reflects the balance between time and skill required.
Waterproofing: A Critical Step
Waterproofing is perhaps the most important part of skylight installation, especially in Australia’s harsh climate. Apply high-quality sealant around the flashing and all potential leak points. Proper overlapping and the right sealant for your roof are crucial for leak prevention. Even a small leak can cause major damage over time. Vivid Skylights’ double-glazed units include flashing kits for tiled roofs, simplifying waterproofing. Consider adding secondary water diversion channels for extra rain protection.
Securing and Finishing
Finally, secure the skylight to withstand strong winds. Double-check all screws and sealant for a weathertight finish. You may find this guide helpful: how to master sealing. A properly installed skylight will not only brighten your home but also add value and improve energy efficiency.
Overcoming Installation Challenges Like a Pro
DIY skylight installation offers a rewarding experience, but even seasoned DIYers across Australia can run into unexpected hurdles. Learning from the experiences of others helps you effectively address these challenges and achieve professional-looking results. This section delves into common problems and their solutions, drawing from real-life experiences of Australian homeowners.
Unexpected Roof Structures
Imagine starting your skylight project, only to discover unexpected framing or plumbing after making the first cut. This is a frequent occurrence, especially in older Melbourne homes. Don’t worry! Adaptability is key. You might have to slightly adjust the skylight placement or modify the framing around the obstruction. When planning your DIY skylight project, consider researching cabinet installation techniques as many principles, such as meticulous planning and precise execution, overlap. If you encounter complex structural elements, consulting a structural engineer or experienced builder before proceeding is always a wise decision.
Unusual Roof Pitches
Melbourne architecture is known for its unique roof pitches. These angles can complicate skylight installation, especially when it comes to flashing and waterproofing. Accurate measurement and custom-fitting the flashing are crucial. Pre-bent flashing kits might not be suitable, so be ready to create your own or modify existing ones. Regardless of the roof angle, proper flashing installation is essential to direct water away from the skylight opening.
Working Around Obstacles
Obstacles like chimneys, vents, and other roof features present unique challenges. Careful pre-planning is essential. Before you start, thoroughly examine your roof and pinpoint potential obstructions. You may need to relocate the skylight or install it at a slightly different angle. The aim is to optimize natural light without jeopardizing the integrity of your roof.
Post-Installation Troubleshooting
Even with the best planning, problems can surface after installation. Let’s address a few common issues:
- Minor Leaks: Leaks are the most prevalent post-installation issue. Carefully inspect all sealant points and flashing overlaps. Even a tiny gap can lead to major problems, especially with Australia’s heavy rainfall.
- Condensation: Condensation can occur in humid coastal areas. Adequate skylight ventilation is important. Vivid Skylights’ ventilated skylights offer a great solution for moisture control.
- Light Adjustment Problems: If the skylight isn’t providing the desired lighting, consider blinds or shades. These regulate the light entering your home and minimize glare. Vivid Skylights offers both fly screens and block-out blinds to manage light and insects.
To further assist you, we’ve compiled a handy guide addressing typical installation problems and their solutions:
DIY Skylight Installation: Problem-Solution Guide
Common installation challenges and effective solutions for Australian homes
| Problem | Potential Causes | Solution | Prevention Tips |
|---|---|---|---|
| Minor Leaks | Improper sealant application, damaged flashing | Reapply sealant, replace damaged flashing | Use high-quality sealant and ensure correct flashing installation |
| Condensation | Lack of ventilation, high humidity | Install a ventilated skylight, use a dehumidifier | Choose a skylight with adequate ventilation |
| Light Adjustment Problems | Excessive sunlight, glare | Install blinds or shades | Consider skylight placement and orientation |
This table summarizes the common issues you might encounter during and after installation. Addressing these potential problems proactively can save you time and effort down the line.
By understanding these common challenges and their solutions, you can approach your DIY skylight installation with increased confidence. Thorough planning, careful execution, and a bit of problem-solving will ensure a successful project. Your new skylight will enhance your home with natural light and may even offer potential energy savings.
Mastering Waterproofing For Australia’s Harsh Conditions
Waterproofing is the single most important factor in any DIY skylight installation, especially in Australia’s varied and often harsh climate. From Queensland’s tropical downpours to the scorching heat of Western Australia, a robust waterproofing system is crucial for a leak-free, long-lasting skylight. A poorly waterproofed skylight can result in expensive repairs and significant damage to your home. This section covers the specific techniques needed to ensure your skylight can withstand Australia’s challenging weather.
Understanding Flashing Fundamentals
Flashing, usually made of aluminum or galvanized steel, is a vital waterproofing component. It acts as a barrier, directing water away from the skylight opening. Proper flashing installation depends on correct overlapping and choosing the right material for your roof. For instance, Colorbond roofs require different flashing techniques than terracotta or concrete tile roofs. Understanding these differences is essential for preventing leaks in the long run. For more information, check out this helpful resource: How to master flashing.
Sealants: Your First Line Of Defence
Choosing the correct sealant is just as important as proper flashing installation. Professional-grade sealants provide superior UV resistance and long-term performance, crucial for withstanding the intense Australian sun. Look for sealants designed for roofing and compatible with your flashing material. A good sealant will create a strong bond, preventing water from getting in, even during heavy rain. The sealant also needs to remain flexible to handle the expansion and contraction of materials caused by temperature fluctuations.
Advanced Waterproofing Techniques
Besides flashing and sealant, several advanced techniques can further improve your skylight’s waterproofing. Building secondary water diversion channels around the skylight adds an extra layer of protection. These channels redirect water away from the skylight, even if the main flashing system fails. Also, creating proper drainage slopes around the skylight prevents water from pooling, a frequent cause of leaks.
Condensation Management
Condensation can be an issue, especially in humid coastal areas. Condensation management systems, like breathable underlayment and good ventilation, help reduce moisture buildup and prevent damage to your roof and ceiling. A ventilated skylight allows airflow and minimizes condensation risk, which is particularly important for Australian homes in tropical and subtropical climates.
Step-By-Step Waterproofing Guide
Here’s a simplified guide to waterproofing your skylight:
- Prepare the Roof Opening: Make sure the opening is clean, dry, and clear of debris before installing the flashing.
- Install the Flashing: Overlap the flashing pieces correctly according to the manufacturer’s instructions for your roof type. Secure the flashing to the roof deck using the appropriate fasteners.
- Apply Sealant: Apply a continuous bead of sealant around all flashing edges to create a complete seal.
- Install Secondary Diversion Channels (Optional): Consider adding secondary water diversion channels above the skylight opening for extra protection.
- Check Drainage Slopes: Ensure the roof around the skylight is sloped to allow proper water drainage.
- Inspect and Maintain: Regularly check the flashing and sealant for wear and tear. Reapply sealant as necessary to keep a watertight seal.
By carefully following these steps and using high-quality materials, you can create a strong waterproof barrier that protects your home from Australia’s challenging weather. Proper waterproofing is a worthwhile investment that protects your home and ensures your DIY skylight lasts.
Transforming Your Home’s Energy Profile With Skylights
Your new skylight isn’t just a beautiful addition to your home; it’s a smart investment in energy efficiency. Strategically placed skylights can dramatically reduce your lighting costs, sometimes by as much as 80% in main living areas. They also offer passive heating and cooling benefits, lessening your dependence on energy-guzzling HVAC systems. This translates to noticeable savings on your energy bills and a more environmentally friendly home.
Selecting the Right Skylight for Your Climate
Choosing the right skylight starts with understanding your local climate. Whether you’re dealing with scorching summers or chilly winters, the glazing specifications are critical. Double-glazed units, for example, offer excellent insulation against both heat and cold, making them suitable for a variety of climates. This significantly impacts your home’s ability to retain heat during winter and stay cool during summer.
Harnessing the Southern Sun: Optimal Skylight Placement
The sun’s path across the sky plays a crucial role in determining the best position for your skylights. South-facing skylights, for instance, provide consistent, diffused light throughout the day. North-facing skylights, on the other hand, deliver more direct sunlight, ideal for warming your home in winter. Consider the purpose of each room and how the sun’s position changes with the seasons. For more insights, check out this helpful resource: How to master energy efficiency with skylights.
Smart Integration for Maximum Efficiency
Integrating smart technology elevates your skylight’s energy performance. Automated opening systems combined with solar-powered ventilation fans can naturally regulate temperature and airflow. During summer, for example, the system automatically vents hot air, reducing the need for air conditioning. Thermal blinds provide additional control over light and heat, further optimizing energy savings. These features transform your skylight into an intelligent part of your home’s energy management system.
Real-World Examples and Performance Data
The impact of well-placed skylights on energy consumption is substantial. Data from Australian homes reveals impressive reductions in energy use. Homes with strategically positioned and properly glazed skylights often experience significant decreases in their lighting bills, sometimes saving hundreds of dollars annually. These savings can be even greater when combined with smart integration features.
From Light Source to Energy Saver
A skylight installation is more than just a source of natural light. By carefully considering placement, glazing, and smart integrations, you can turn your skylight into a powerful tool for reducing energy consumption. This results in a more comfortable and sustainable home, along with significant long-term savings on your energy bills. Ready to brighten your home and boost its energy efficiency? Explore the selection of high-quality skylights available from Vivid Skylights today!